Happy Earth Day!
Owning an art studio, we've grown accustomed to saving everything. We save everything from paper scraps to wine corks to every box that makes its way into our house. Kids in our studio use toilet paper tubes just as fast as we can keep them in. Here are some of our favorite projects using recycled materials!

Watercolor paints made with dried up marker tips
Repurposing Dried Up Markers
As you can imagine, we end up with lots and lots of dried up markers. For us, the best way to reuse these "dead" markers is to turn them into watercolor paints! And we save the caps for other projects or for those times when your marker cap goes missing.
What You’ll Need:
Dried up markers
Cup of water - you can use old baby food jars, mason jars or we love Melissa & Doug's spill proof plastic paint cups with lids.
Instructions:
Remove tips of dried up markers with your fingernails or a pair of pliers. Soak the tips in a cup of water for 24 hours or longer. The longer you leave the marker tips in the cups the brighter the colors will be!
Discard marker tips and use paints just as you would any watercolor paints!

Dried up marker tips soaking in cups of water to make paints!
Collage with recycled artwork
As you can imagine, we have piles and piles of unwanted or unclaimed artwork each week at the studio. We hate throwing out kids' paintings so we're constantly thinking of ways to re-use the artwork. Collaging is a great way to do this!
What You’ll Need:
Scraps of paper
Scissors
Glue stick
Cardboard or recycled wood (see below) to collage on

Unclaimed/unwanted paintings cut into smaller pieces

Collage with recycled artwork
We collected a few boxes of unwanted floor/wood samples from interior designers. These have been a perfect surface for collaging paintings!

Recycled wood samples from interior designers
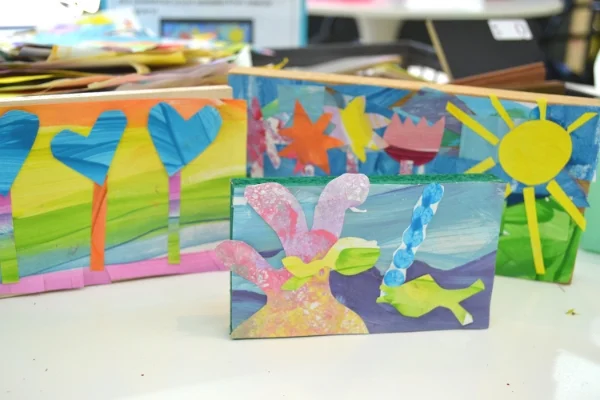
Collages with unwanted paintings on recycled wood panels
Make Chalk Paint
Does anyone else end up with bags of chalk stubs? Making chalk paint is a great way to repurpose and use up the ends of the chalk. We see a lot of recipes on the internet for homemade or DIY chalk paint. We’ve tried a lot of these and they tend to stain surfaces and are really hard to clean. This recipe is super easy and cleans just as regular sidewalk chalk will!
What You'll Need:
Sidewalk chalk - Crayola is the most washable brand of chalk we’ve tried.
Food grater
Cup (again, we love these Melissa & Doug's spill proof plastic paint cups, but any container will do)
Paintbrush
Water
Instructions:
Grate chalk over your cup to make a powder. Don’t have a grater? You can also put in a resealable bag and let your kids jump on it until it makes a powder.
Mix 1/4-1/2 cup of water with your powder (amount of water will depend on how much chalk powder you create).
Stir and paint! Don’t be afraid if paint doesn’t look very bright at first. The color gets brighter as it dries!

Chalk Paint

Chalk Paint
Build With Recycled Materials
The recycled materials section in our studio is one of the most popular areas for kids. Kids can spend hours building with cardboard, tape, bottle caps, etc. Kids make everything from robots to animals to dollhouses. The creativity and problem solving that happens is always so impressive! We save everything and anything we think a kid would like to use to create.
Suggested Materials:
Boxes - cereal boxes are my favorite because they are super easy to cut with regular scissors
Plastic baby food pouch caps, bottle caps or wine corks
Egg cartons
Toilet paper/paper towel rolls
Popsicle Sticks
Plastic canned craft beer lids
Broken toys (make sure there are no sharp edges first!)
Gift wrap supplies (tissue paper, ribbon, etc.)
Bubble wrap
Masking tape
Hot glue gun (adult help)
Scissors
Our tips for working with recycled materials:
Hot glue is a great tool for helping kids bringing their creations to life. While regular washable white glue can stick plastic together, it will take a long time to dry which can leave kids frustrated. Until kids are old enough to use hot glue (we recommend around age 8), we encourage children to show adults where they would like something glued. You can also do a problem solving exercise for kids and challenge them to build without using glue or hot glue!
Younger kids will need help cutting. Have them draw what they want cut on their boxes and do it for them. This will avoid them jabbing scissors furiously (and dangerously) at the box.
Be careful with using small containers such as yogurt containers or pill bottles. We find kids tend to unnecessarily fill them and do things like squirt an entire bottle of glue inside.
Building with recycled materials is not just for big kids! Give a toddler a giant box and some Kwik Sticks or paint and let them go to town! It will entertain him/her for hours and it is cheaper than buying lots of paper!

Recycled Materials

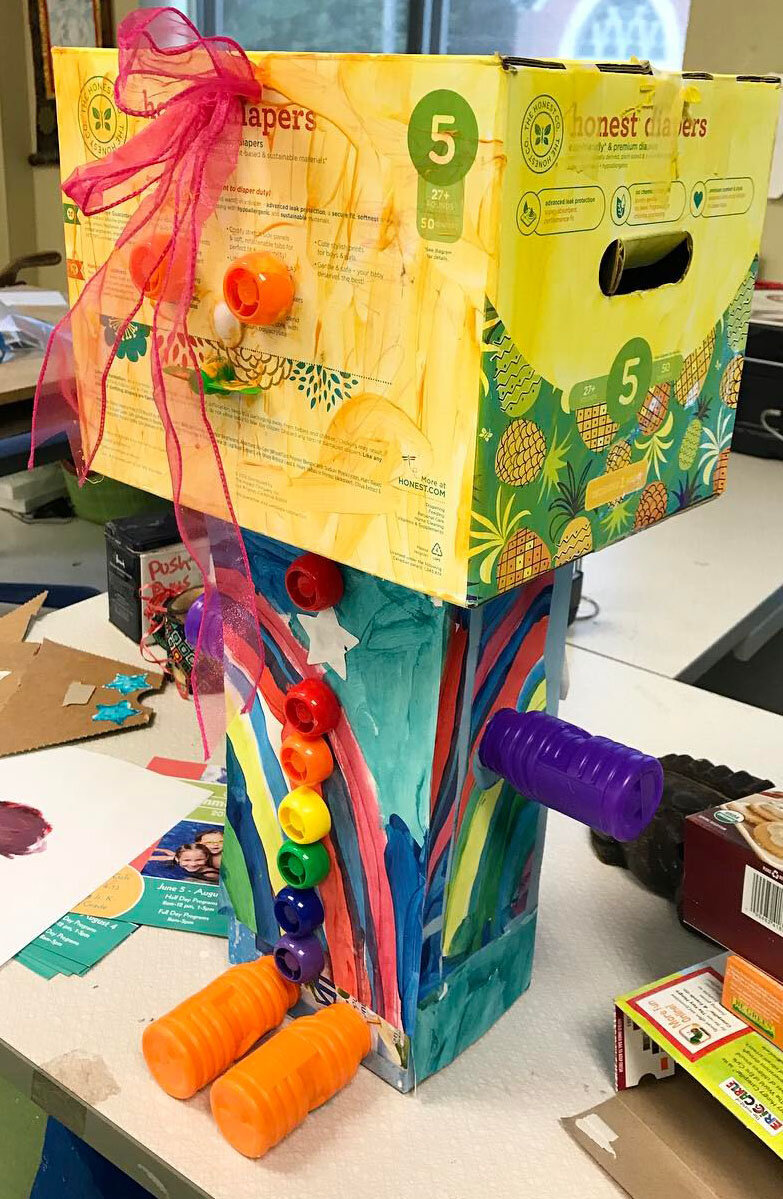
Recycled Robot
Collage With The Phone Book
Anyone else still get delivered a giant phone book even after trying multiple times to get rid of it? Of course you can throw it in your curbside recycling bin, but it also makes great paper to collage with and draw on!
What You’ll Need:

Unwanted phone book - you can also use catalogues, newspapers, junk mail, etc.
Scissors
Glue stick
Markers
1 piece of construction paper. You could also use recycled cardboard.
Instructions:
Tear out a page of the phone book. Cut it into desired shapes and glue it to your paper using a glues tick.
Add any additional details using markers.

Re-purposing Broken Crayons
We end up with tons of broken crayons around the studio. We hate throwing them away! We saw this idea floating around the internet and decided to try it. It is fun watching kids become re-engaged with simple coloring activities just by making the shape of their crayon more exciting.

Lego crayons
What You’ll Need:
Broken crayons
Oven
Silicon molds usually meant for candy/baking. These are the ones we used. They come in all kinds of different shapes/varieties (unicorns, hearts, dinosaurs, animals, etc.). You can also use silicon muffin liners if you have those on hand already!
Instructions:
Preheat oven to 275.
Remove the paper from the crayons. An easy way to do this is to soak them in a bowl of warm soapy water. The paper will slide right off. Just remember to dry them off before moving on to the next step!
Fill molds with broken crayons. You can sort them by color or create swirly colored crayons.
Place molds on a baking tray. I recommend lining your baking tray with foil to catch any drips. Bake in the oven until the crayons have melted, about 5-10 minutes.
Allow crayons to cool. I like to put them in the freezer for an hour.

Silicon candy molds perfect for melting crayons

Filling silicon molds with broken crayons.