
The Art Project's Ultimate Slime Guide!
We find slime to be a controversial subject among parents - they either love it or hate it. Kids never seem to grow tired of it. It combines art with sensory play and science. Just when we think the slime trend is ending, new slime loving 4 year olds emerge! We know that there are thousands of slime recipes floating around on the internet, but we have made thousands of batches of slime over the past 5 years and have developed a handful of tried and true recipes that we love. We also try to use ingredients that aren’t super harsh for kids to play with (no borax or liquid detergent for us!) and are washable. We’re also sharing all of our tips, tricks and fun things to do with your slime once it is made!
Slime Tips:
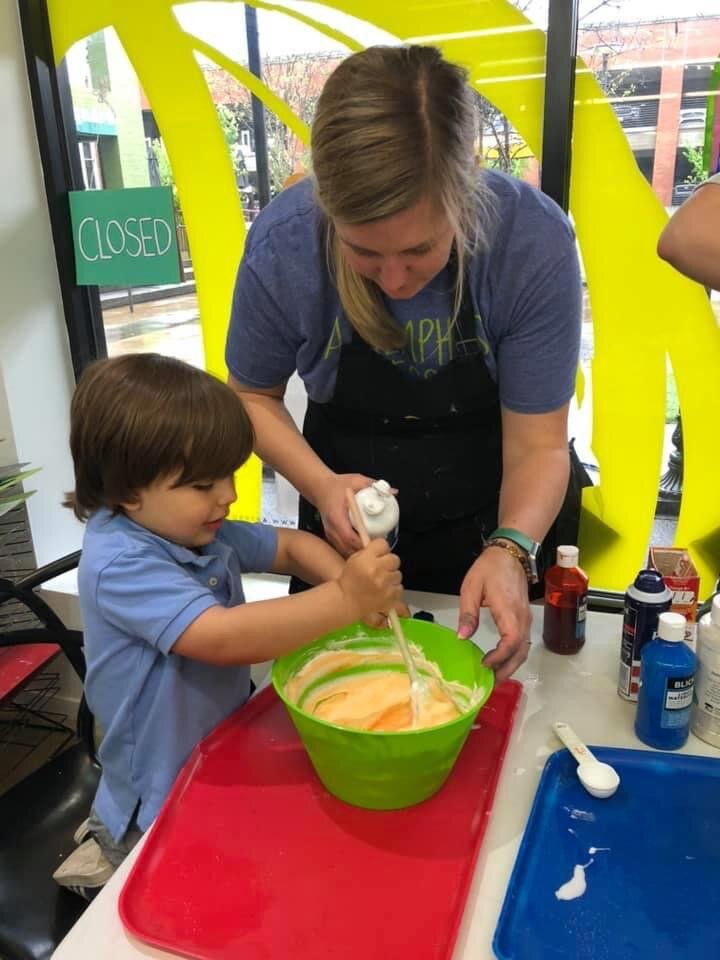
Making slime is sort of like baking. You really need to follow the recipe. Otherwise you’ll end up having batches that are too sticky, too runny, too squishy, too rubbery, etc. Once you’ve made slime enough times successfully, you may be able to take more creative liberties!
We use contact solution as our “activator.” Make sure to buy contact solution that contains “boric acid” as one of the ingredients. The generic brands (Kirkland brand, CVS brand, Walgreens brand, etc.) seem to work really well.
Use WASHABLE glue!! It will be a lifesaver if slime ends up on your carpet, your table, your kids’ clothes, etc. This one from Amazon is a really good value !
Speaking of cleaning up….set rules with your kids and slime. At summer camps, our rules are: slime must stay on a tray, slime cannot go near the face and slime cannot be thrown into the air. We tell kids if they break any of these rules their slime gets taken away. You don’t want to end up scraping slime off the ceiling, out of hair, etc.
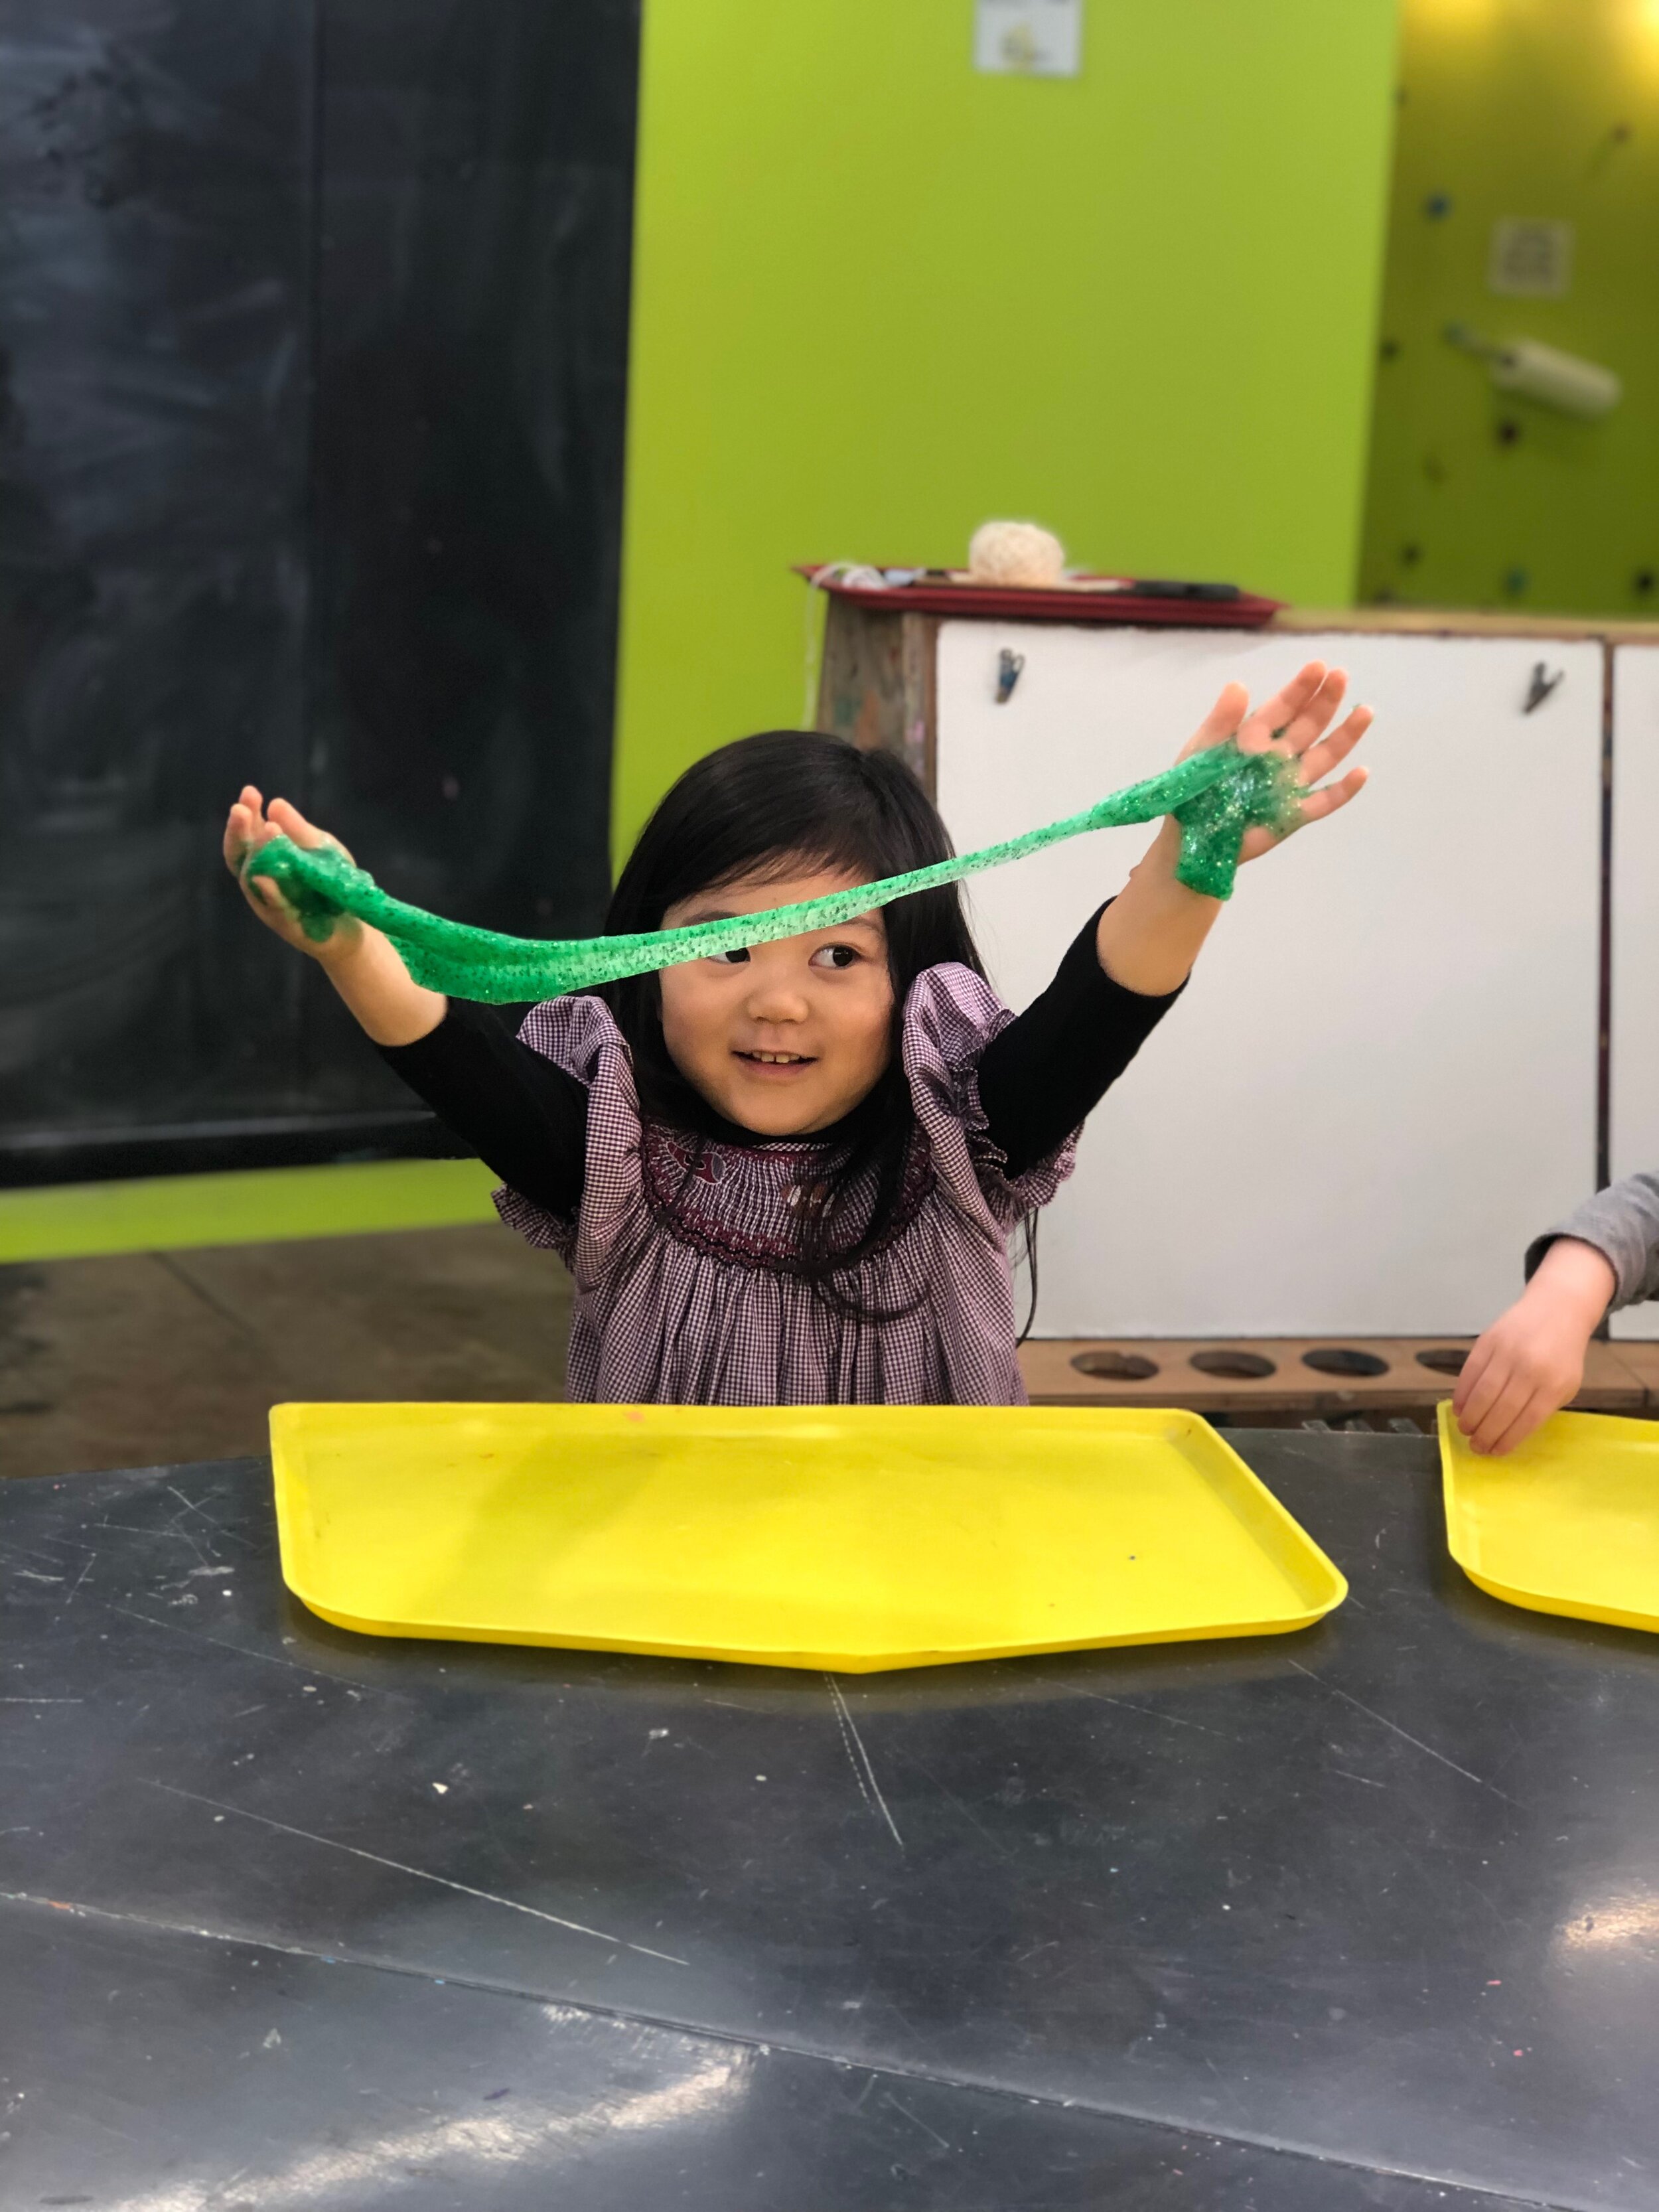
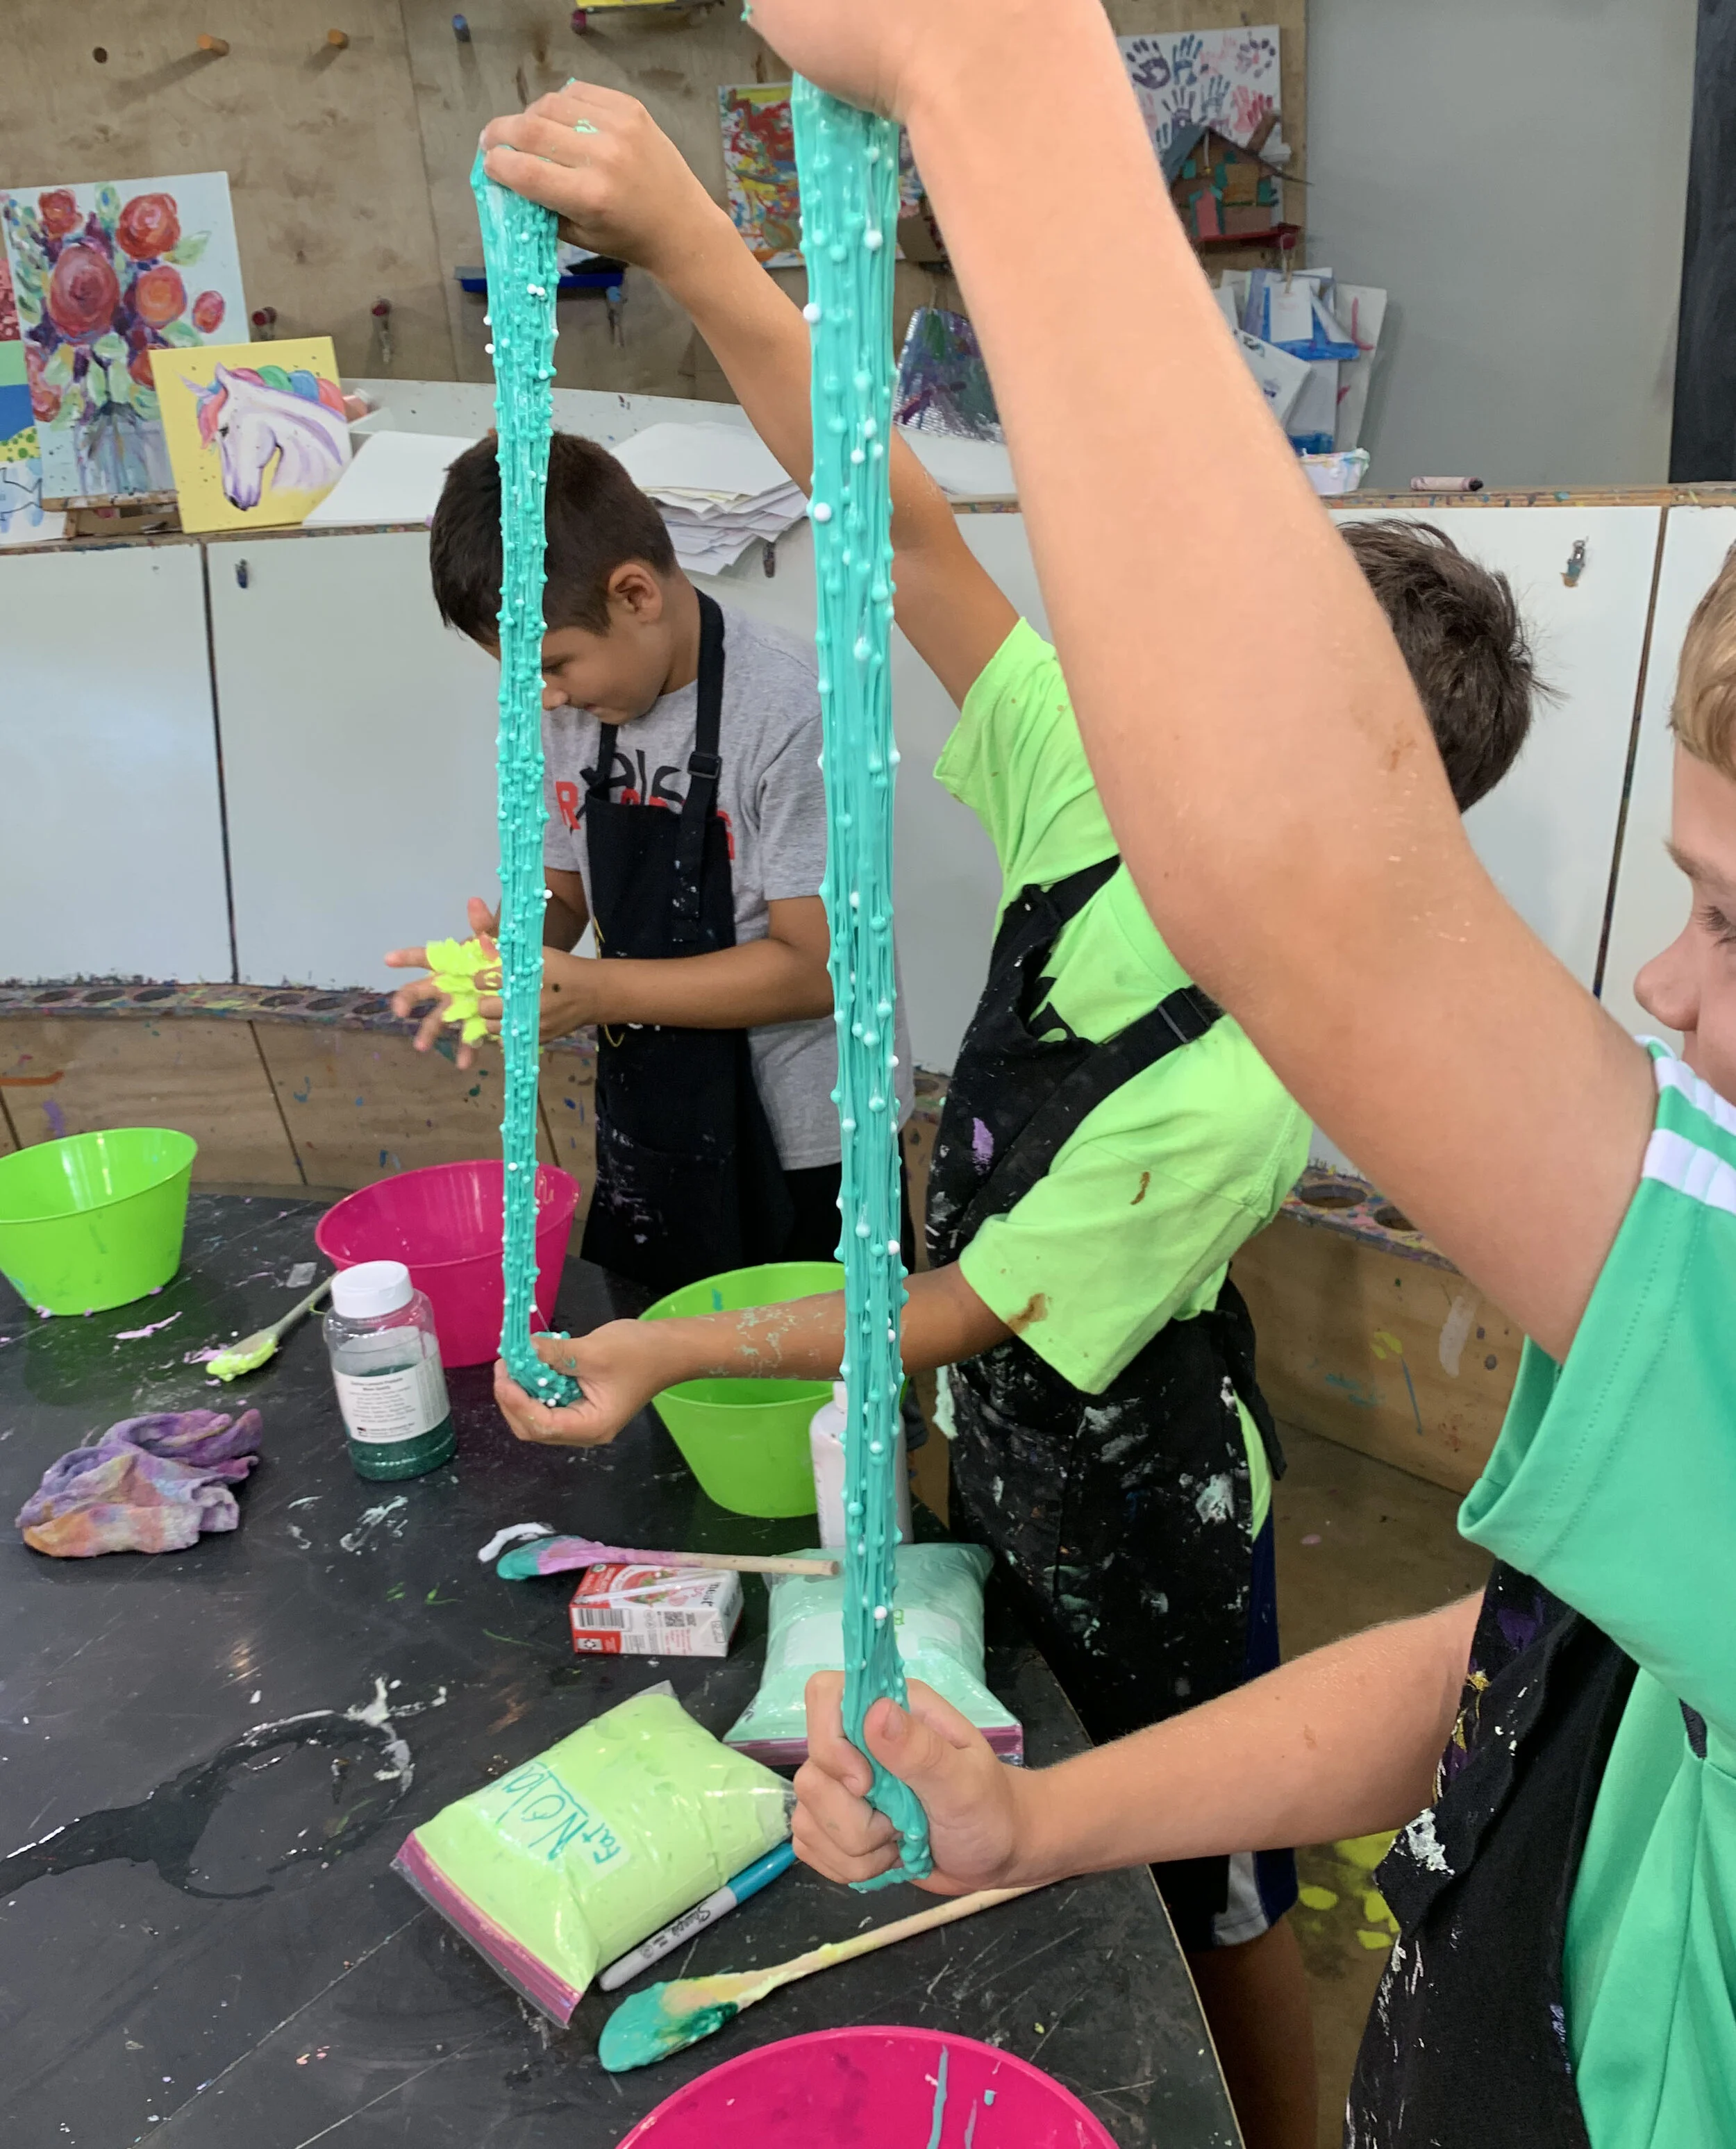
Mix-ins can be really fun for kids. Glitter is the most common. Other fun mix ins: beads, paper scraps, slime “candies,” plastic toys, Model Magic clay, sequins. Foam balls are really fun to make “crunchy” slime but just a head’s up, you’ll be finding them all over your house for weeks to come!
Making multiple colors of slime and swirling them can be really fun. For example, make a batch of pink slime and a batch of blue slime. Swirl them together to make pink/purple “unicorn” slime. Here’s another example of mixing slime colors on a blog post we did with Space themed projects.
Playing with “see-through” slime
Classic Slime Recipe
This is our original slime recipe. We added the water to make it a little stretchier but you can leave it out if you want it to not be as stretchy.
What You’ll Need:
1/2 cup washable white glue
1/2 tsp baking soda
1/4 cup water
2 T contact solution
Instructions:
Pour glue into your bowl. Add 1/2 tsp of baking soda. Stir until all of the baking soda has disappeared.
Mix in water. Stir.
Add a few drops of color and adjust as needed.
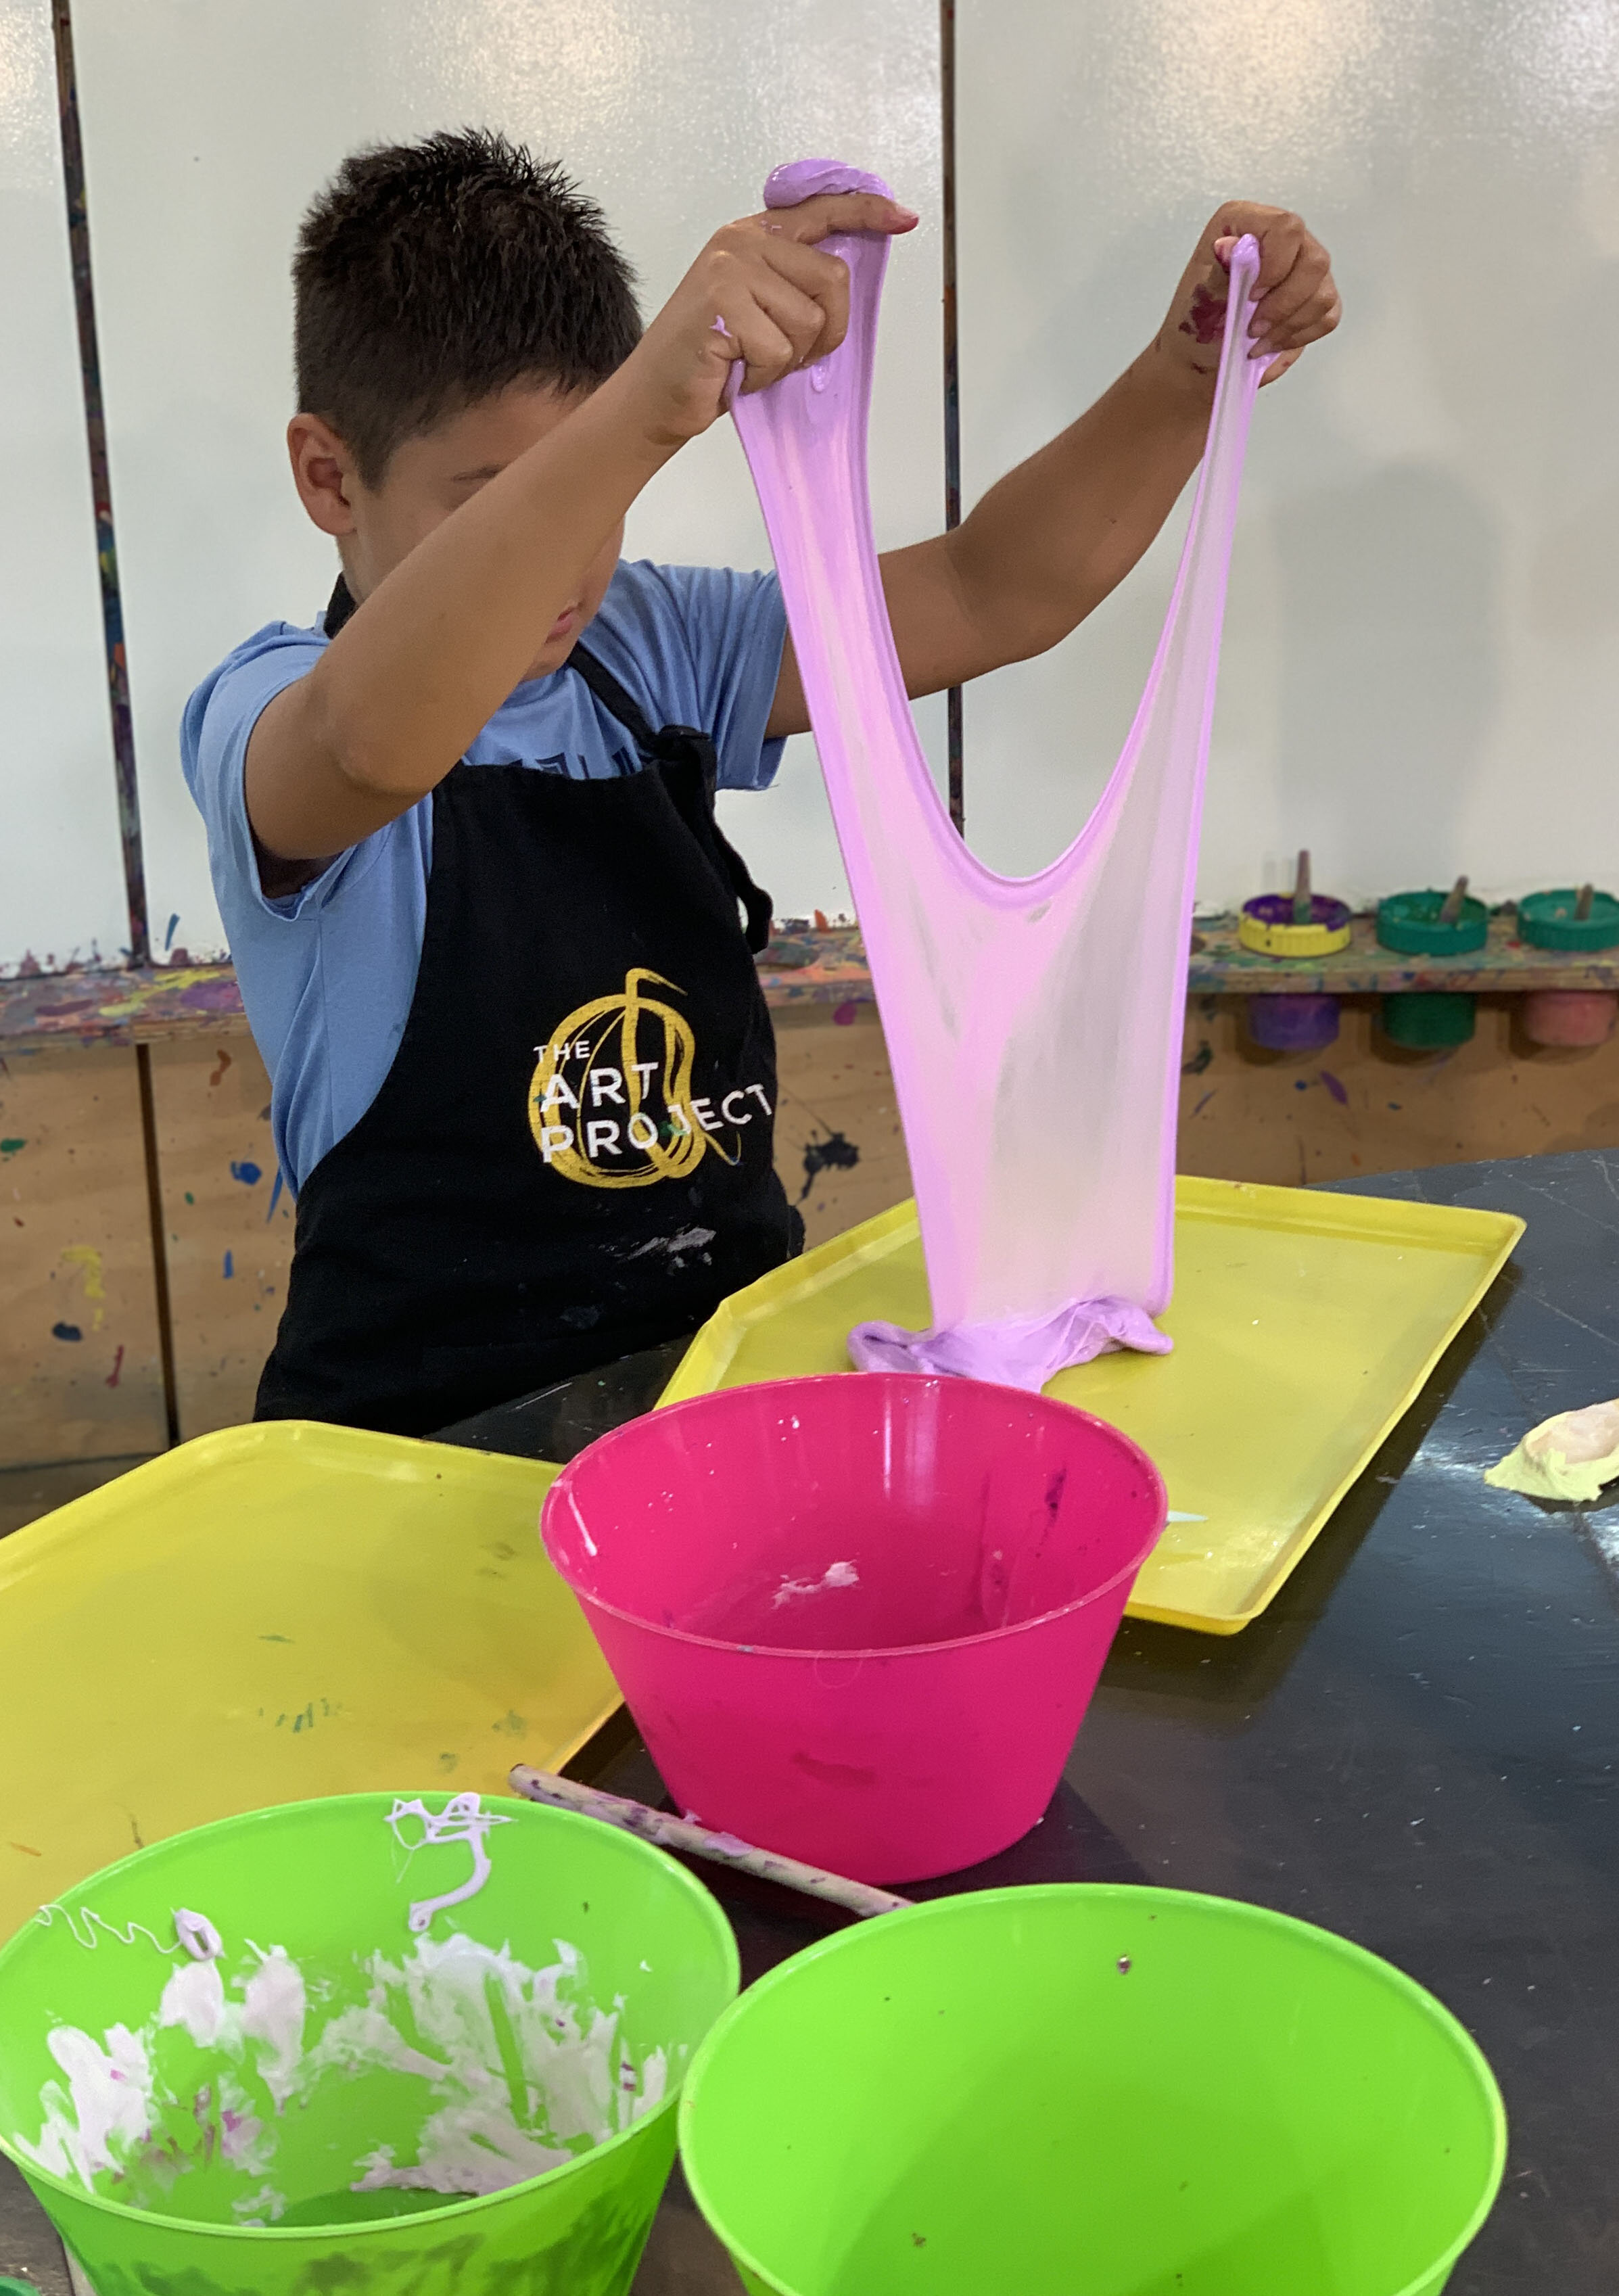
Add contact solution. Stir vigorously. Once your slime starts to form into a ball, get your hands messy. Knead the slime repeatedly until it isn’t sticky anymore. We often have to help children with this step as sometimes their hands aren’t strong enough. The more you play with it, the less sticky it will be. *Tip: Sometimes people like to add more contact solution to help decrease the stickiness. While this will get rid of the stickiness quicker than kneading, it will lead to rubbery slime!
Add in any desired “mix-ins” and store in a resealable container.
Classic slime
“Crunchy” slime is our classic slime recipe mixed with foam balls
Fluffy Slime
This type of slime feels like a cloud. Perfect for making “unicorn” slime. It is also the best slime to make with toddlers as the shaving cream makes it the easiest to clean up and clean off of clothes/skin!
What You’ll Need:
1/4 cup white washable glue
1/4 tsp baking soda
1 cup of shaving cream (we like Barbisol brand)
Food coloring or liquid watercolor
1 T contact solution
Instructions:
Pour glue into your bowl. Add baking soda. Stir until all of the baking soda has disappeared.
Add 1 cup of shaving cream. Mix.
Add a few drops of food color. Adjust as needed. The color will be pale because of the shaving cream.
Add contact solution. Stir vigorously. Once your slime starts to form into a ball, get your hands messy. Knead the slime repeatedly until it isn’t sticky anymore. We often have to help children with this step as sometimes their hands aren’t strong enough. The more you play with it, the less sticky it will be. *Tip: Sometimes people like to add more contact solution to help decrease the stickiness. While this will get rid of the stickiness quicker than kneading, it will lead to rubbery slime!
Add in any mix ins and store in a resealable container.

Fluffy slime

Fluffy slime

Fluffy slime that still needs to be kneaded. It will get less sticky as you play with it!

Fluffy slime with assorted slime glitter added on top

Triple recipe of fluffy slime
Clear “See Through” Slime
This is a fun slime to make when you’re using mix ins such as glitter. The glitter will really shine through.
What You'll Need:
1/2 cup clear washable glue
1/2 tsp baking soda
1/3 cup of water
2 T contact solution
Instructions:
Pour glue into your bowl. Make sure to scrape your measuring cup and use the whole 1/2 cup. Add baking soda. Stir until all of the baking soda has disappeared.
Add 1/3 cup of water. Mix.
Add a few drops of food color. Adjust as needed. Note: if using a colored bowl make sure you show your child the slime’s color by lifting up your spoon. The color of the bowl will alter the color of the slime since it is see through!
Mix-ins can be added here or at the end!
Add contact solution. Stir vigorously. Once your slime starts to form into a ball, get your hands messy. Knead the slime repeatedly until it isn’t sticky anymore. We often have to help children with this step as sometimes their hands aren’t strong enough. The more you play with it, the less sticky it will be. *Tip: Sometimes people like to add more contact solution to help decrease the stickiness. While this will get rid of the stickiness quicker than kneading, it will lead to rubbery slime!
Add in any mix ins and store in a resealable container.

Clear slime

“Winter” Slime - clear slime mixed with glitter specks

See through slime with gold glitter

Instead of food color we used gold liquid watercolor for this slime and mixed in gold glitter and gold foil stars!
Colored Glue or Glow-in-the-dark Slime
Making slime with pre portioned bottles colored glue is really fun because it is super simple. It has minimal ingredients, less mess, no need for food color and less to measure!
What You’ll Need:
4 oz container of colored glue or glow-in-the-dark glue
1/4 tsp baking soda
1 T contact solution
Instructions:
Pour entire contents of the colored glue bottle into your bowl. Add baking soda. Stir until all of the baking soda has disappeared.
Add contact solution. Stir vigorously. Once your slime starts to form into a ball, get your hands messy. Knead the slime repeatedly until it isn’t sticky anymore. We often have to help children with this step as sometimes their hands aren’t strong enough. The more you play with it, the less sticky it will be.
Add in any mix ins and store in a resealable container.

Colored glue slime
Projects to do using your slime
Slime Jars
Let kids give their slime an “identity.” They can give it a name/title and create a “home” for it. Is it monster slime? Unicorn slime? Dragon slime? Kitty cat slime? Get creative!
What You’ll Need:
Resealable jar - these are great but you can also use baby food jars or mason jars
Decorative Items: permanent markers, puff balls, google eyes, stickers, construction paper, anything else you may have on hand
Instructions:
Decorate a resealable jar using materials you have on hand.


Slime jars
Slime Volcanoes
This is a project we came up with during Slime Camp last summer. Making slime for 2 hours a day all week long really pushed us to create some new slime ideas beyond our normal recipes!
What You’ll Need:
Batch of basic slime (see above recipe)
Toilet paper tube
3 T of baking soda
1 cup of white vinegar
Food coloring or liquid watercolor
Rimmed tray (we love these but a regular baking sheet works too)
Optional: plastic dinosaur toys
Instructions:
Place your toilet paper tube in the center of your tray. Build your volcano using slime.
Add baking soda inside your toilet paper tube.
Mix desired “lava” color with white vinegar. Set aside.
Optional: decorate the volcano using plastic toys.
Slowly pour vinegar into the toilet paper tube and watch it erupt. *Make sure to either wear some safety goggles or keep eyes away from the top of the tube in case it comes out too quickly.

Slime Volcano

Slime Volcano
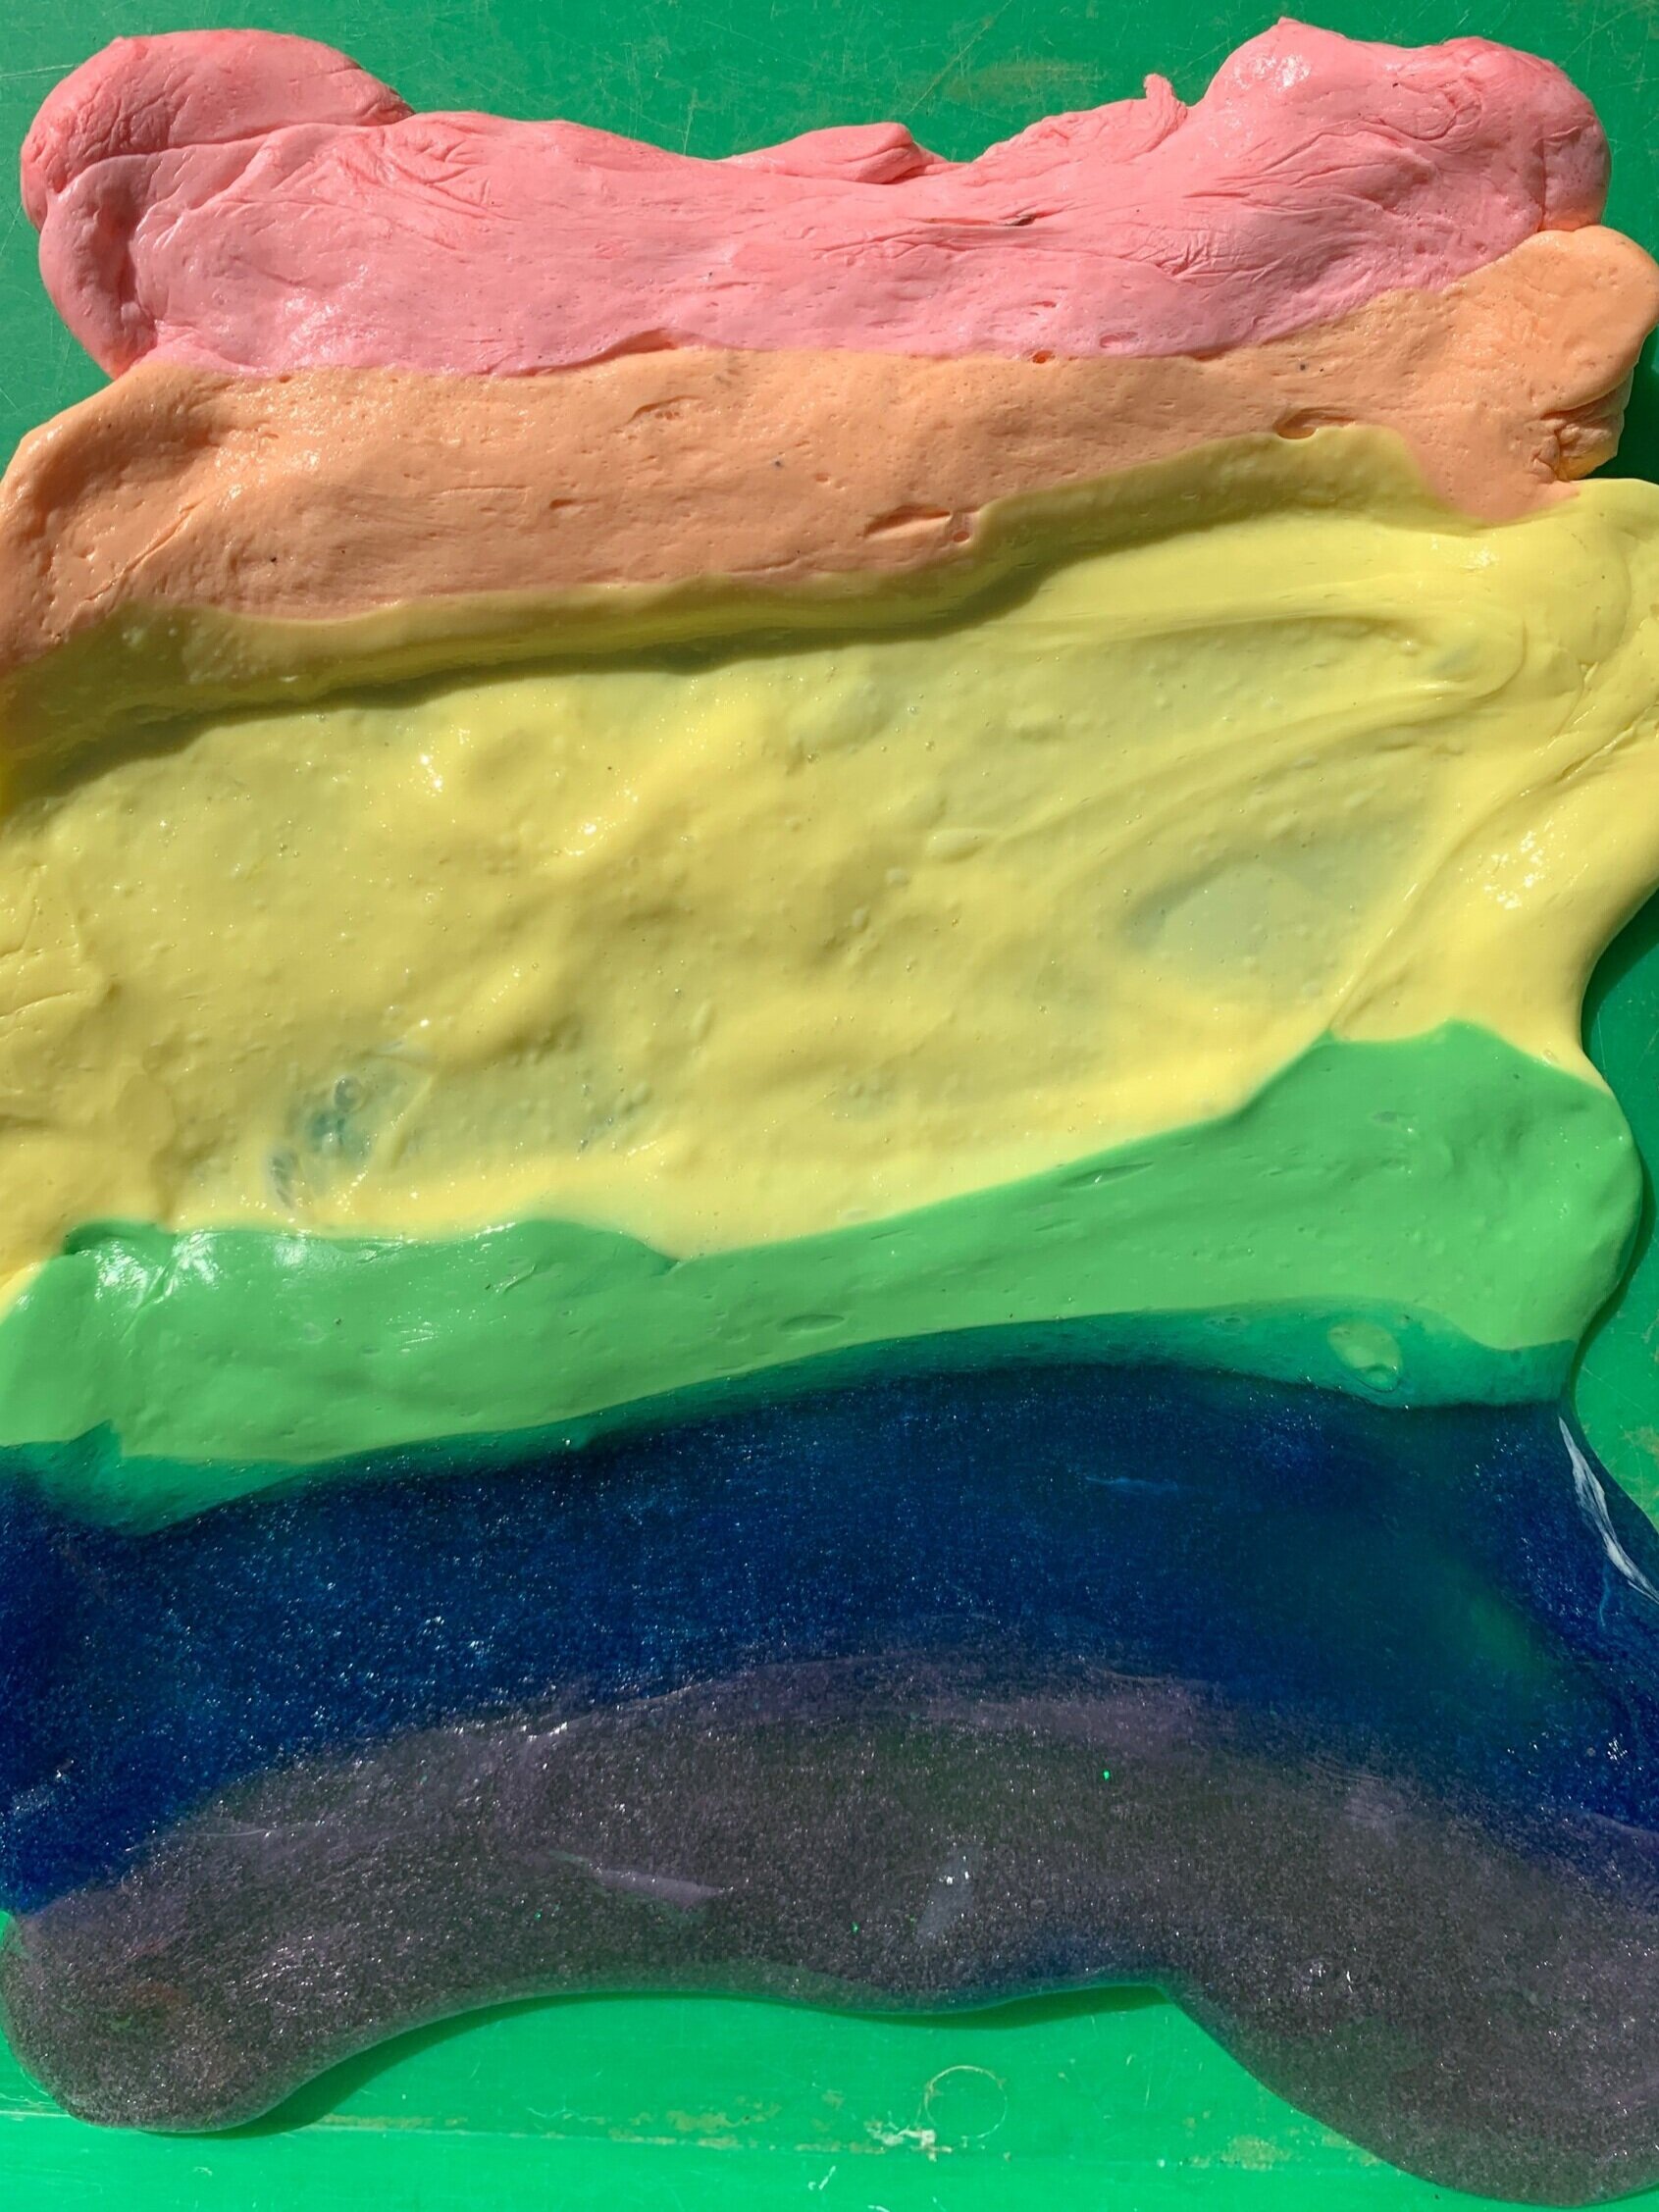
Slime Sculptures
Use slime to build sculptures. When it is fresh you can make faces, shapes, animals, anything your children can imagine. My 4 year old left 6 colors of slime out to dry. He came back a few hours later and had a blast building a “ship” with the slime. The dried out slime was fun to build with because the colors didn’t mix together.

Slime sculpture

Slime sculpture
Paint With Slime
This probably should be filed under “don’t try this at home” but I’m sharing anyway. This was super messy and was probably a totally crazy idea. We dipped our slime in Crayola washable paint and used the slime as a bouncing brush on our paper. It made really fun textures on the paper. Of course, we ended up throwing out the art and the slime, but it made for some fun experimenting and playing first!
