Garden Critters Themed Projects!
GARDEN CRITTERS PROJECTS
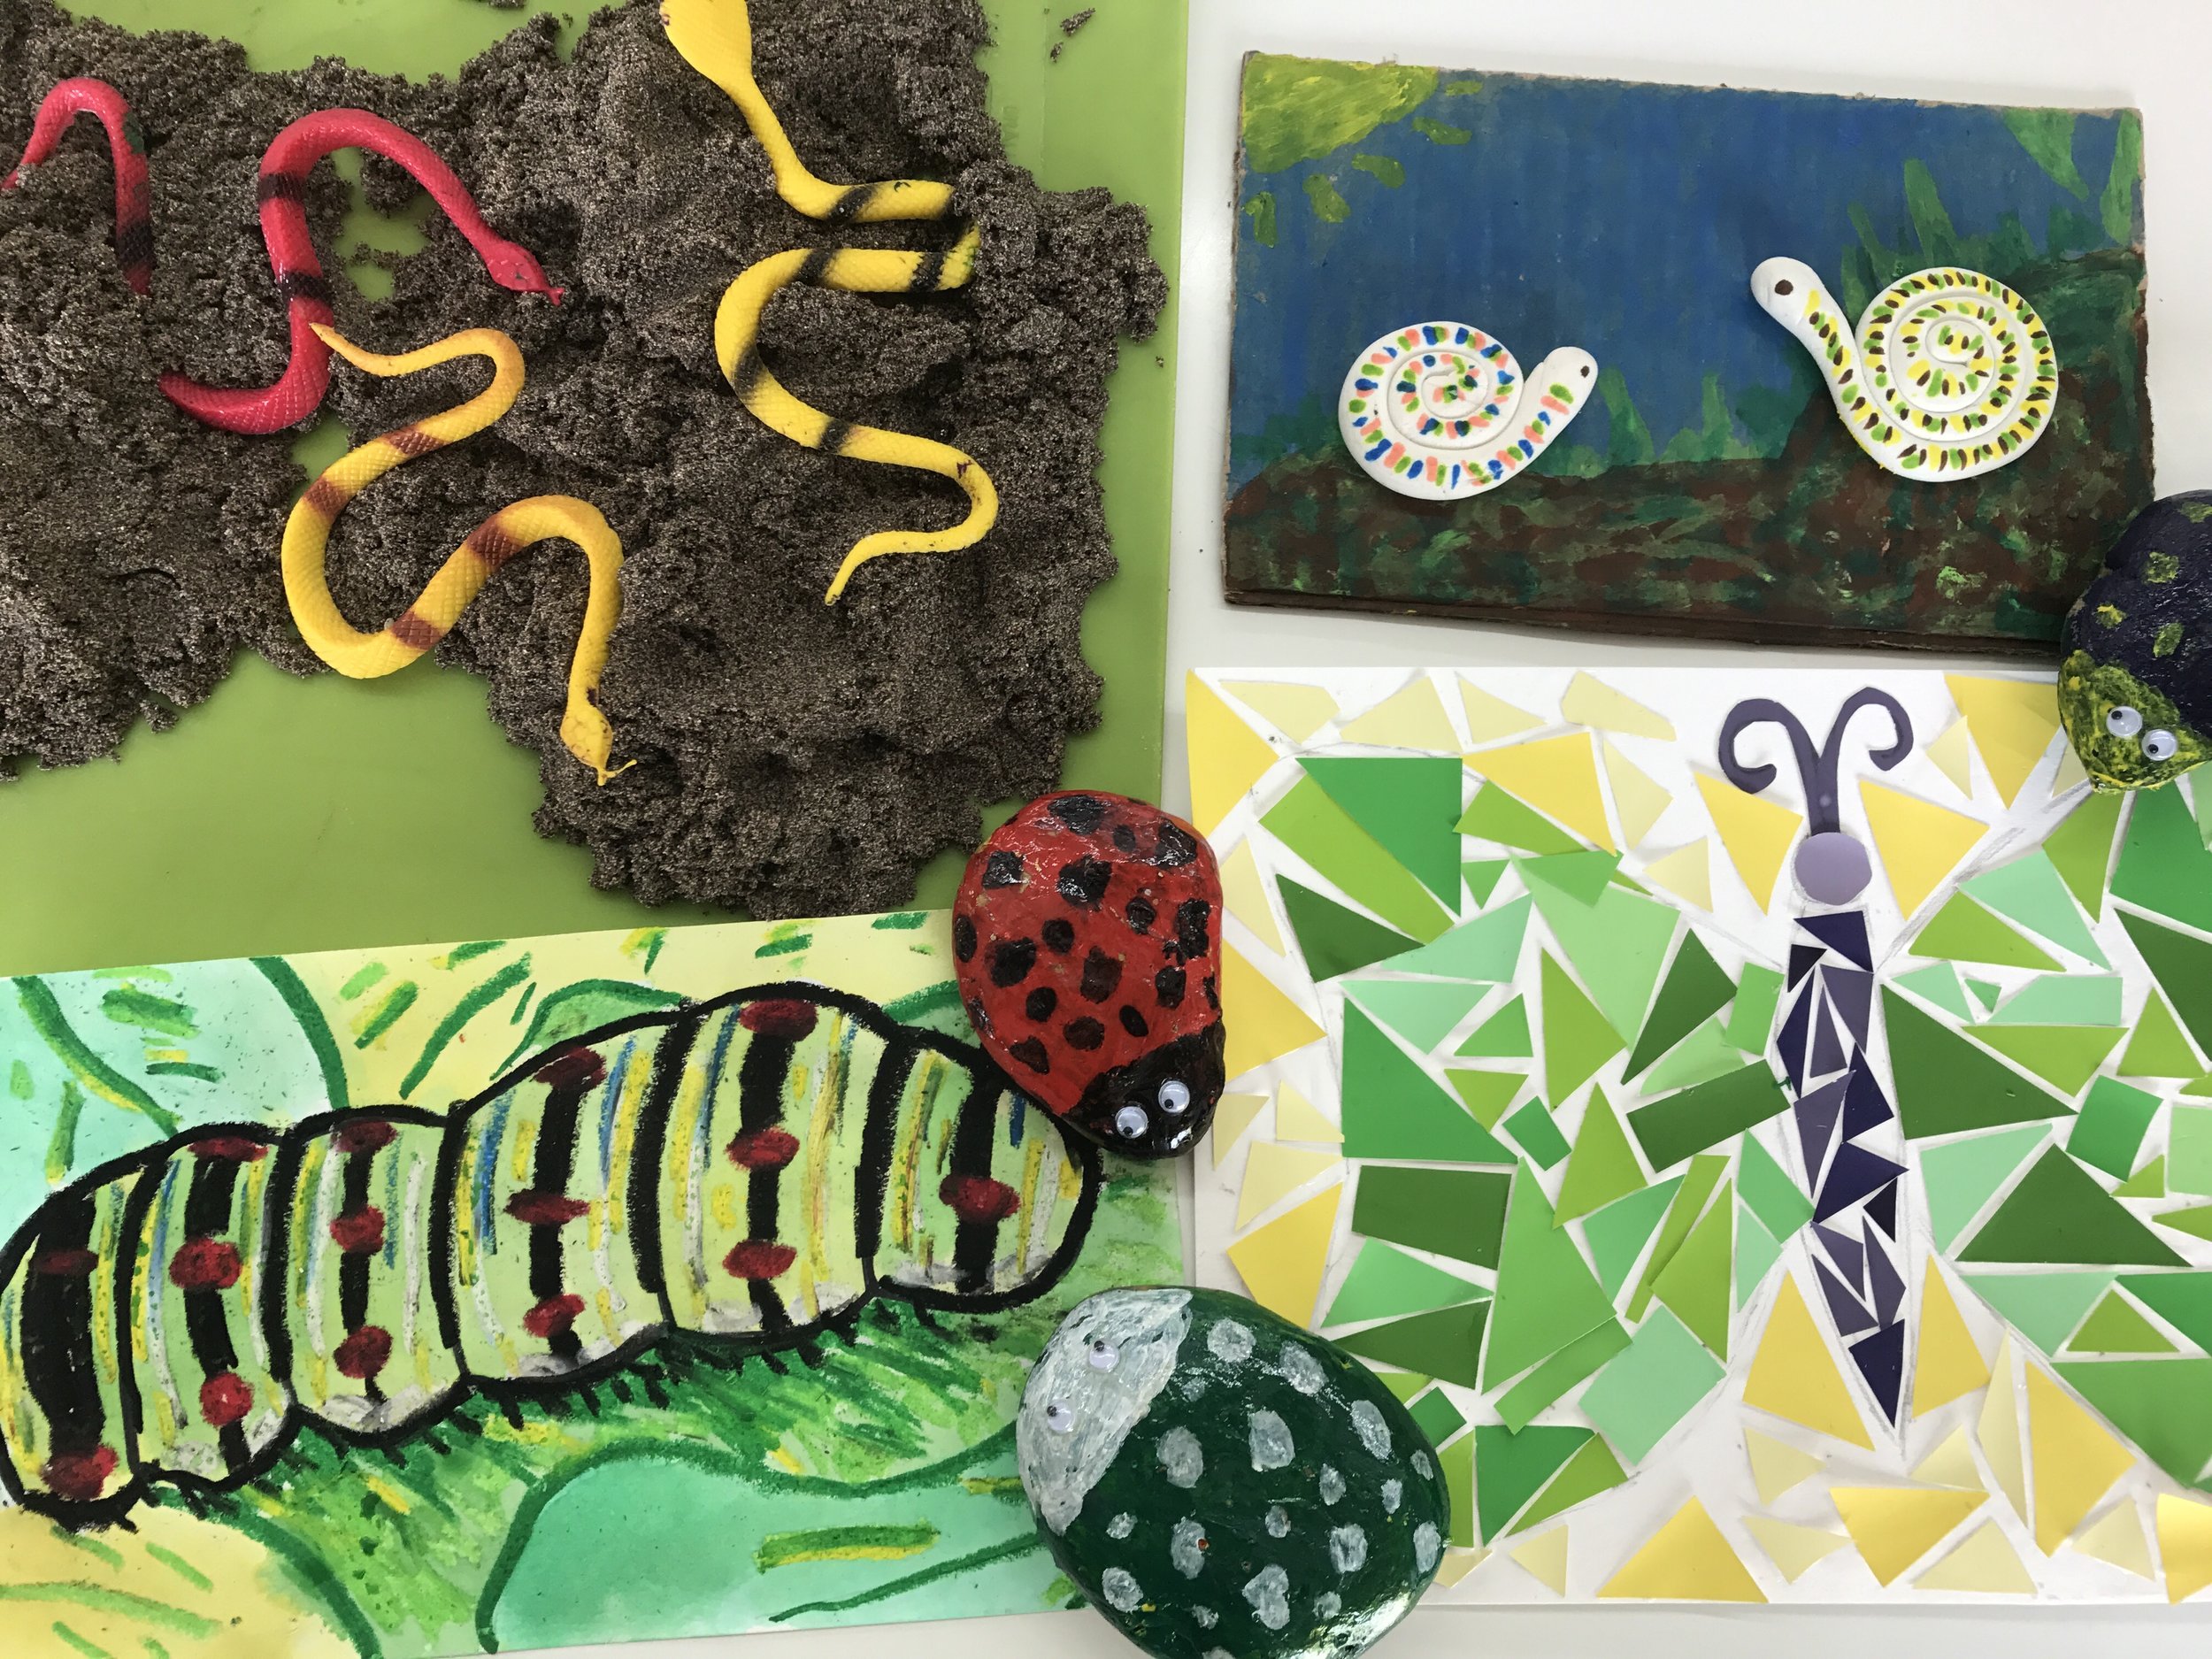
Spring is here, flowers are blooming and people are spending lots of time in their gardens. We thought this would be a fun week to celebrate Garden Critters! In the studio, we have garden critter art projects depicting snails, ladybugs, butterflies, and caterpillars. We also created a sensory bin with PlayVisions Play Dirt and some plastic snakes.
Here is a run down of some of the fun art projects for kids that you can also try at home:
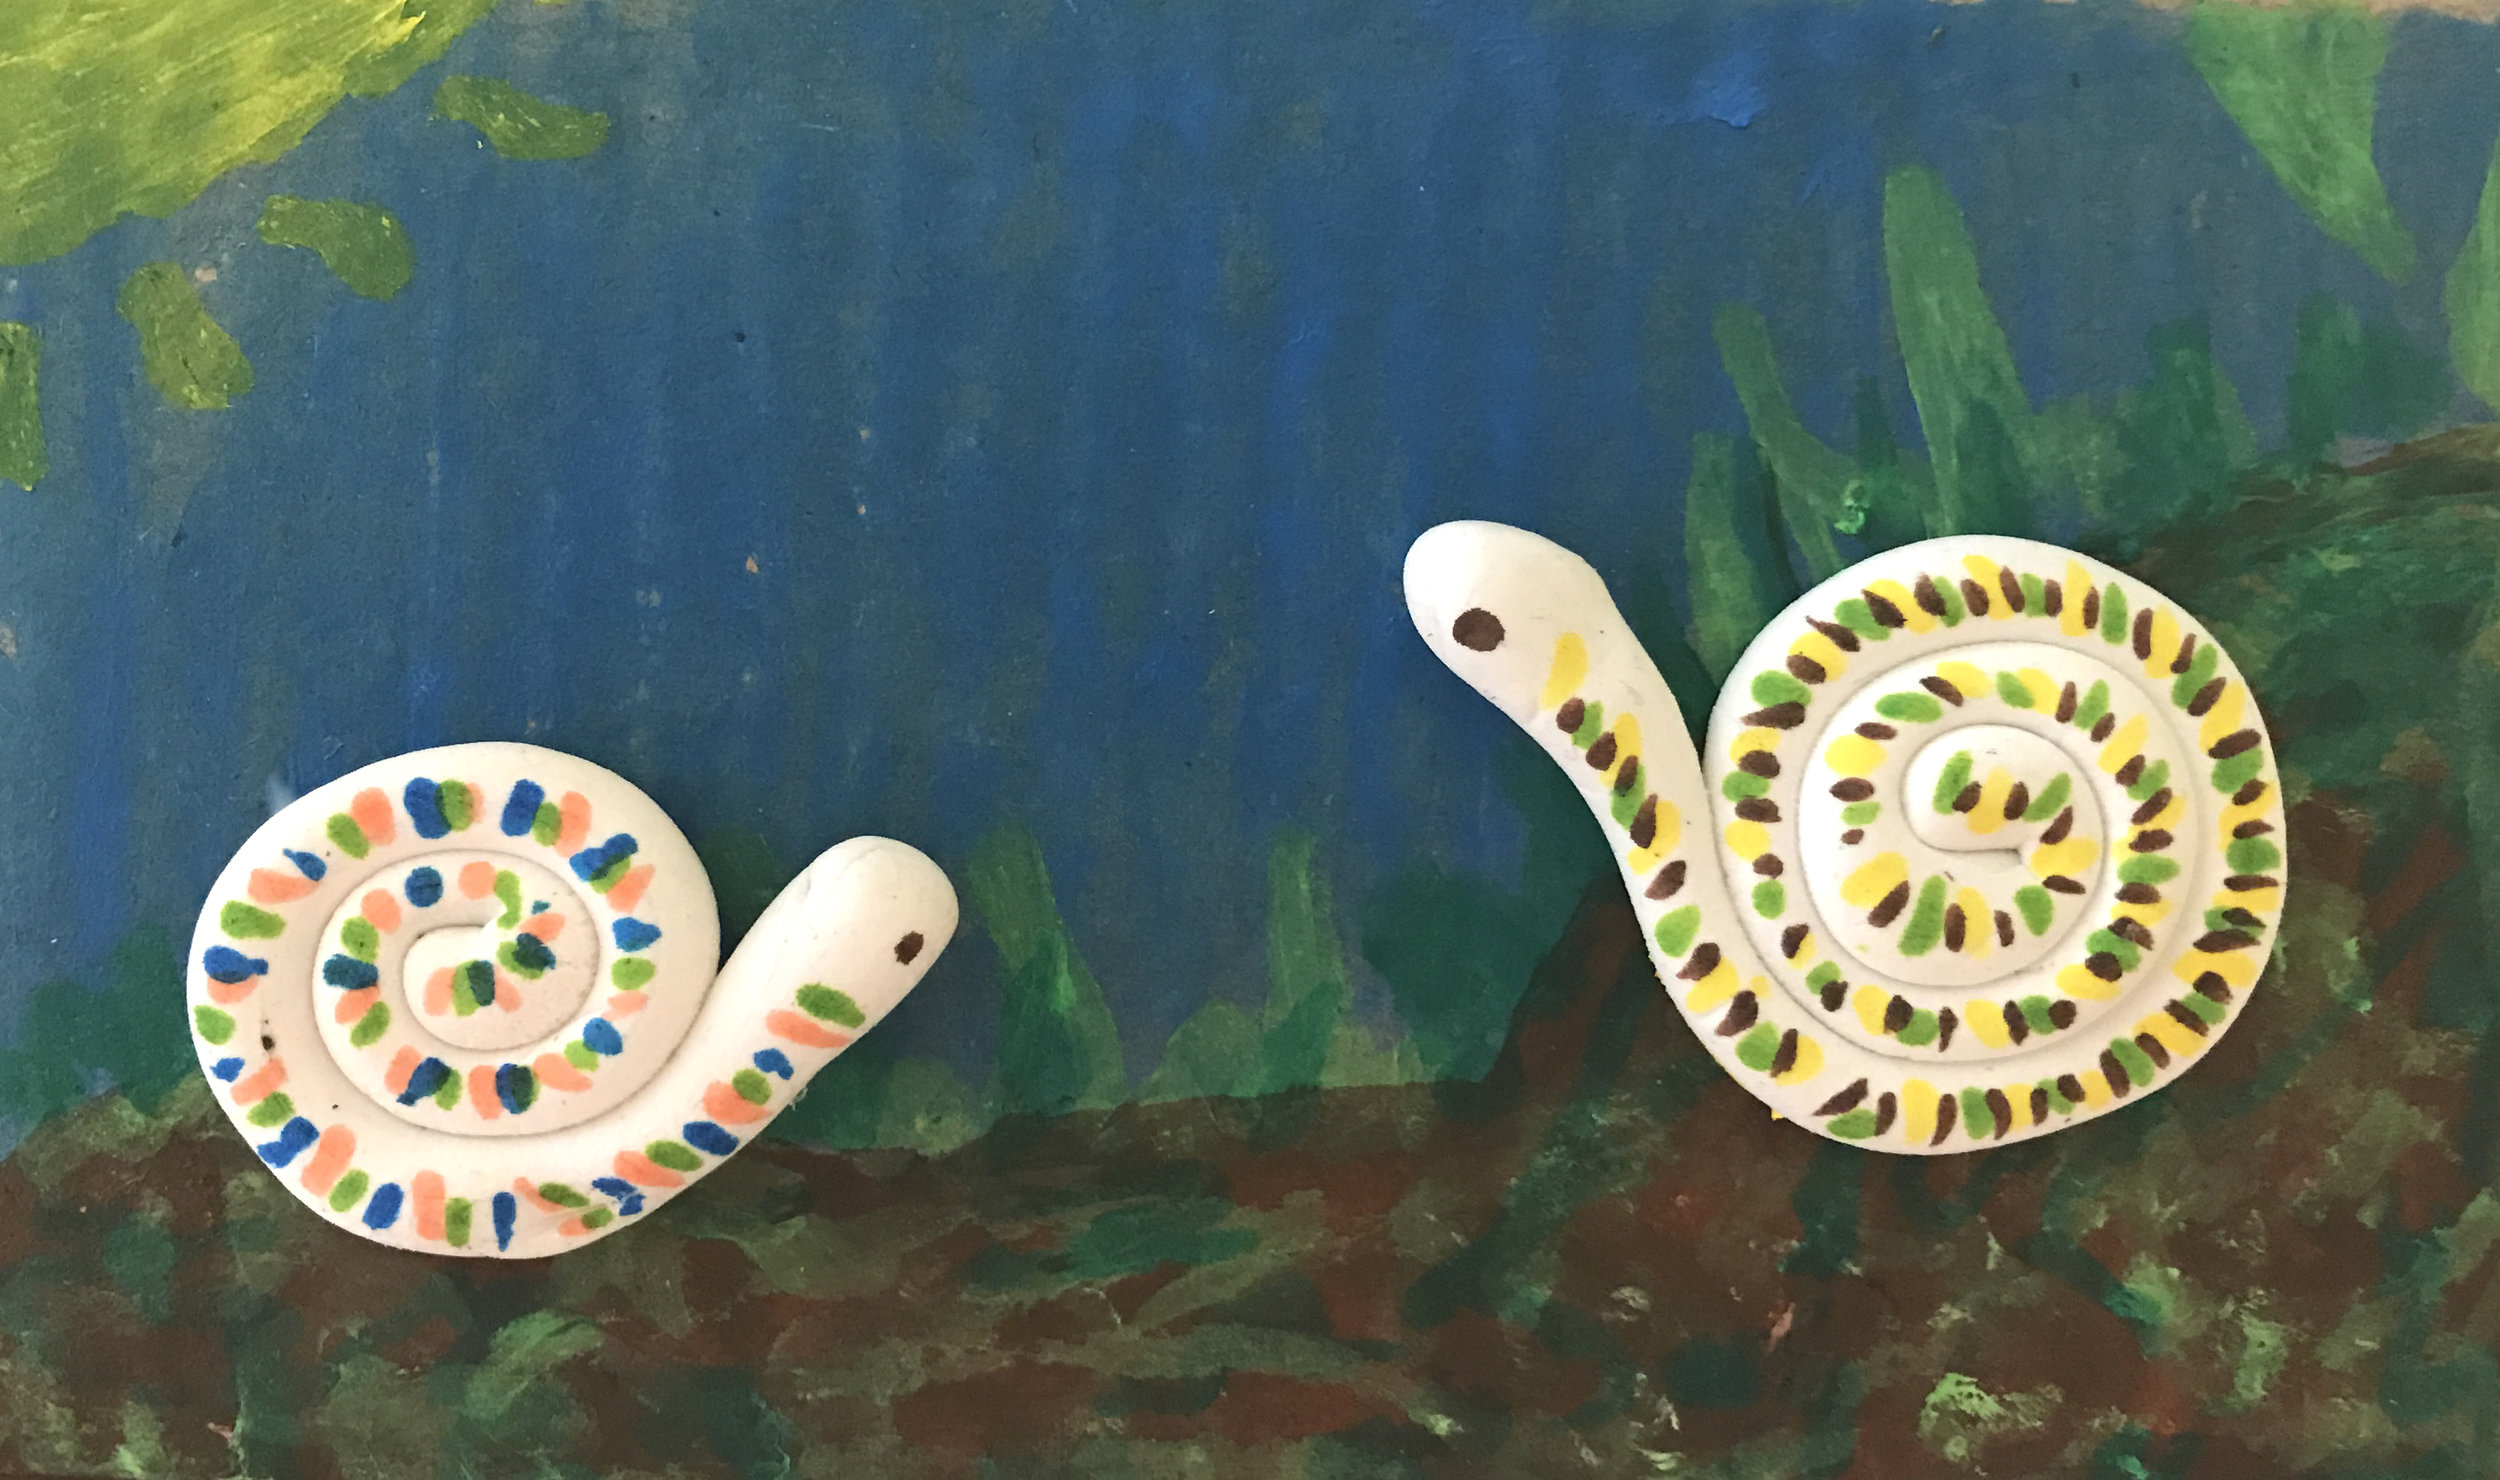
Mixed Media Snails
Snails are my 19-month-old's favorite critters right now! In this mixed media art project, we hope to introduce kids to using more than one material to make an image. We also hope it encourages kids to think about their creature’s environment.

What You'll Need:
Air Dry Clay (we use Crayola's Model Magic)
Glue
Cardboard or other thick paper
Colored permanent markers
1. Roll ball of Model Magic into a long tube-like shape. Next, roll it into a coil shape. This is a great basic 3D skill for kids to learn. Now they have created their snail.
2. Take a piece of cardboard and draw the snail's environment. Good prompts to facilitate kids' creativity are: where do they live? do the snails have friends? what is the weather like? what do they eat? Encourage kids to fill up the entire piece with color.
3. Glue clay figures onto the cardboard.
4. Add patterns to the snails using colored permanent markers.
Butterfly Mosaic
This butterfly project was inspired by looking at garden art made with ceramics.


What You'll Need:
Colored paper (we used recycled paint chips from interior designers)
Scissors
Pencil/Eraser
1. Sketch out the shape of your butterfly using a pencil and an eraser.
2. Cut lots of geometric shapes out of paper.
3. Cover your whole butterfly with glue and begin to stick down your shapes. Continue until the whole butterfly is covered with color and pattern.
Watercolor Caterpillars
Most kids have read Eric Carle's The Very Hungry Caterpillar, so they are used to the cartoon version of a caterpillar. We thought it would be fun to have kids really look at a real caterpillar, study the patterns on them and then create their own caterpillars using watercolors and oil pastels.

What You'll Need:

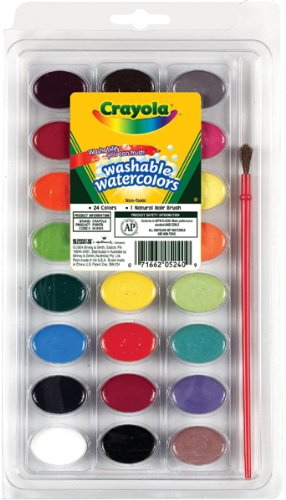
Watercolors & brushes
Drawing materials (pencil, eraser, Sharpie)
Watercolor paper
Close up pictures of caterpillars
1. Take a peek at the caterpillar pictures. Then sketch out your caterpillar using a pencil/eraser or a Sharpie. Make sure to include the caterpillar's surroundings.
2. Outline your caterpillar and fill in the patterns using a mix of crayons and oil pastels.
3. Paint in the color using watercolor paints. Kids can paint right over the oil pastel, crayon or Sharpie lines as they will resist the watercolor.
“Painting” Ladybug Rocks
This fun Ladybug Rock Project was inspired by the #901Rock movement in Memphis. Kids are loving painting, hiding and finding rocks around town. We decided to turn rocks into garden critters.


What You'll Need:
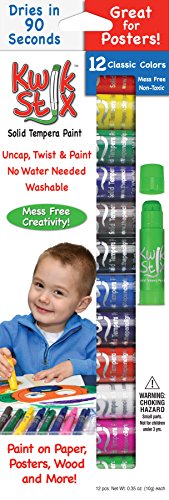
1. Paint your rock using Kwik Sticks. These dry in 90 seconds so you can work in layers. Once the first layer is dry, add details on top.
2. Give your critter some wiggle eyes.
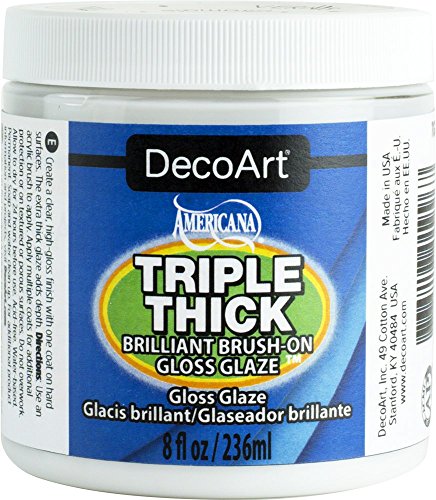
3. Optional: Seal your rock so it is weather proof. We like Triple Thick Paste because it adds a nice glossy top coat and makes it waterproof.
Storytime & Craft
Each week in the studio, we do “Storytime and Craft” where we read a book and then do a project inspired by the book. This week in the studio, we read Eric Carle's The Grouchy Ladybug & made a fun ladybug collage.